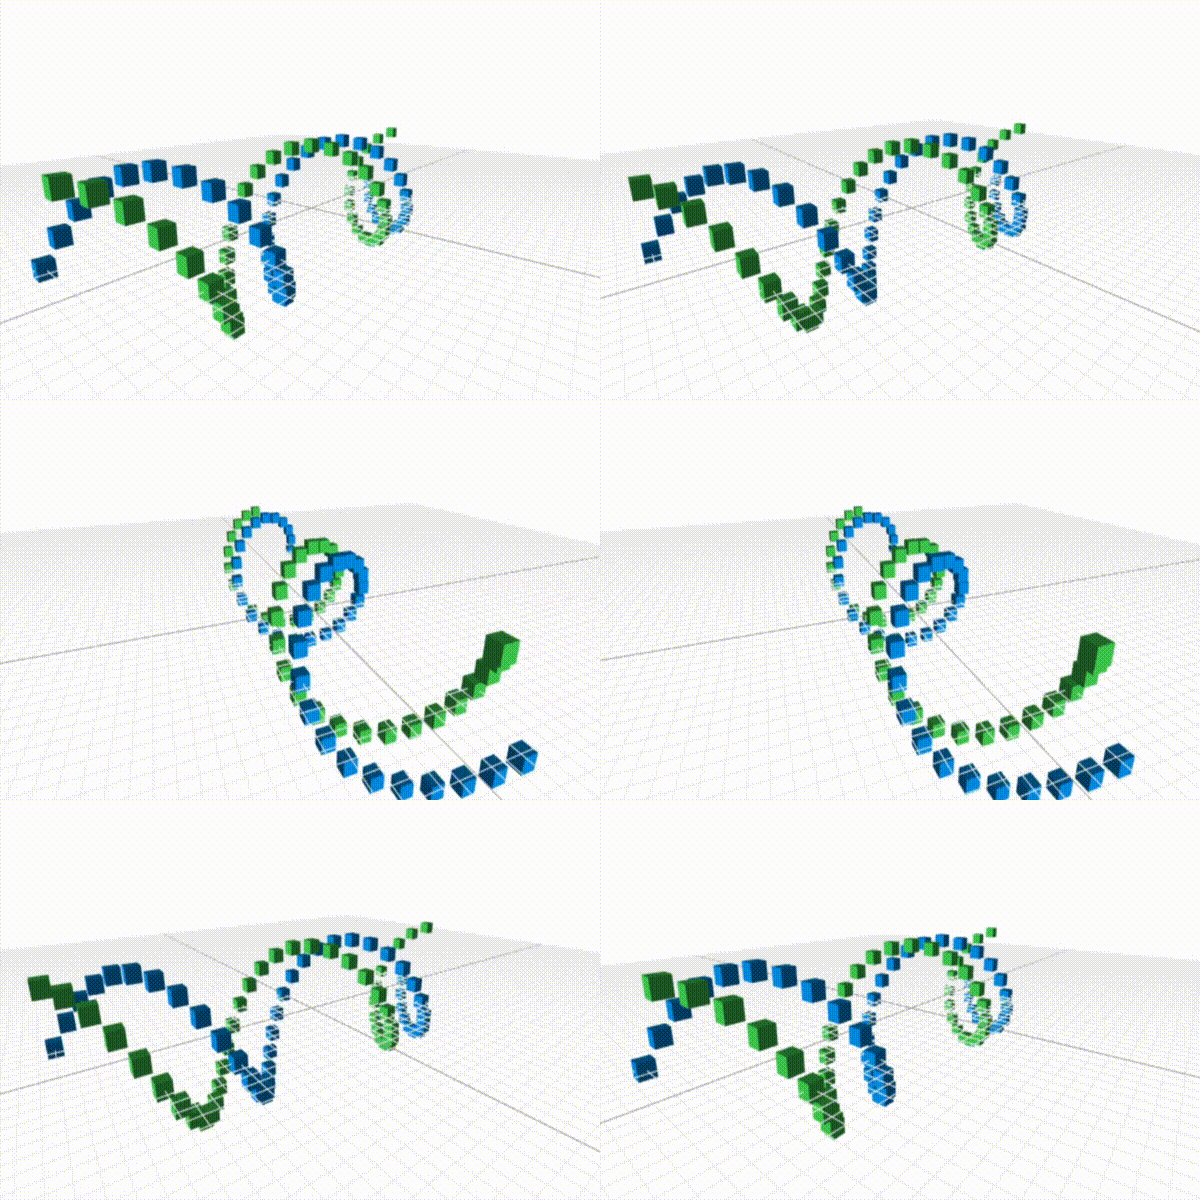
Lesson 19: Drawing a double-helix

The previous lesson demonstrated that a small modification to the original ring code could produce a helix. In this lesson, we're going to modify our original helix, to create a double-helix as shown above. Let's start with the code for creating a single-helix:
At the end of the lesson, I challenged you to add another helix to the mix and
create what's known as a double-helix. To add another helix to the mix, we need
to make sure the helixes don't interfere with each other. We can make them run
side-by-side if we offset one compared to the other. A good way to do so is to
add a constant amount to the radians variable. Since a full circle is
2π, let's set the offset to be one-quarter of a circle, or π/2.
Hold shift + scroll to zoom
Note that I've split the code into multiple paragraphs: one for the calculations
of the first helix, one for the second, a short one to figure out common
components (the z coordinate), and a final one to place the cubes.
You'll notice that we're starting to repeat ourselves in this piece of code. And as we discussed, keeping code DRY (Don't repeat yourself) is a good idea. In the next lesson, I'll go over functions and we'll use them as a mechanism to reduce repetition in this code and make it much more readable.
For now, your exercise is to go even further with the helixes. Try creating a triple-helix. How about a quadruple-helix?
© 2024 Abhin Chhabra | Sitemap